Design engineering: a tvOS inspired tilting card component
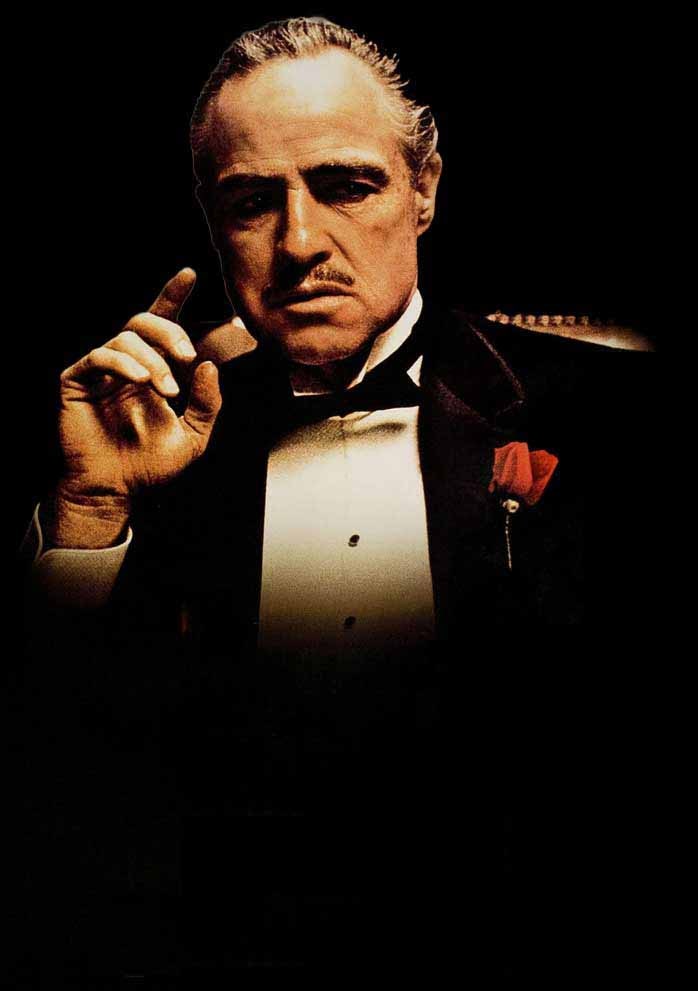
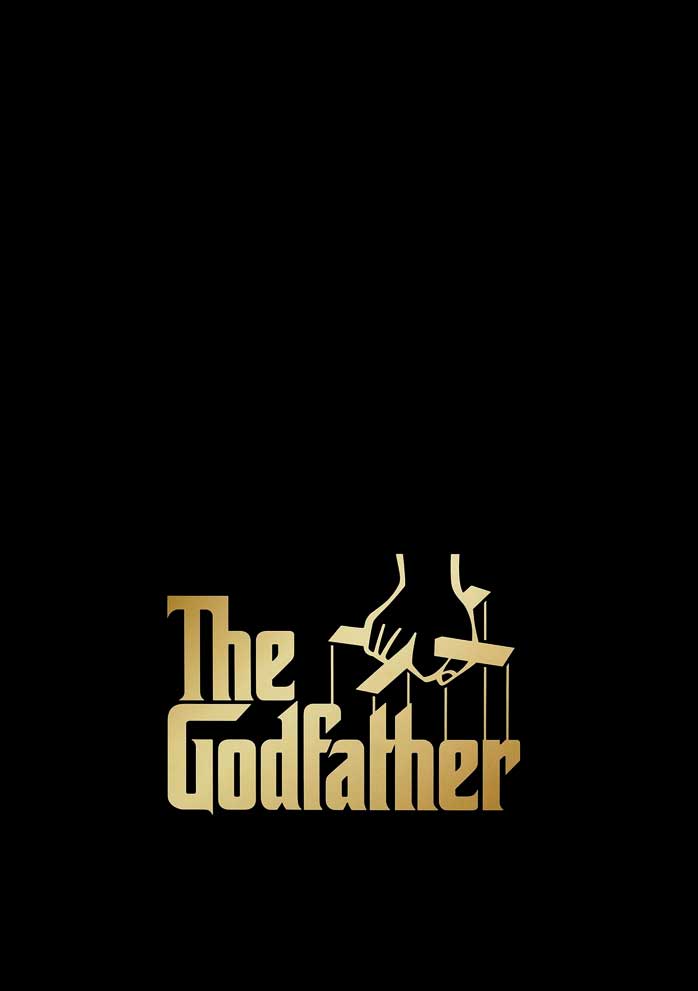
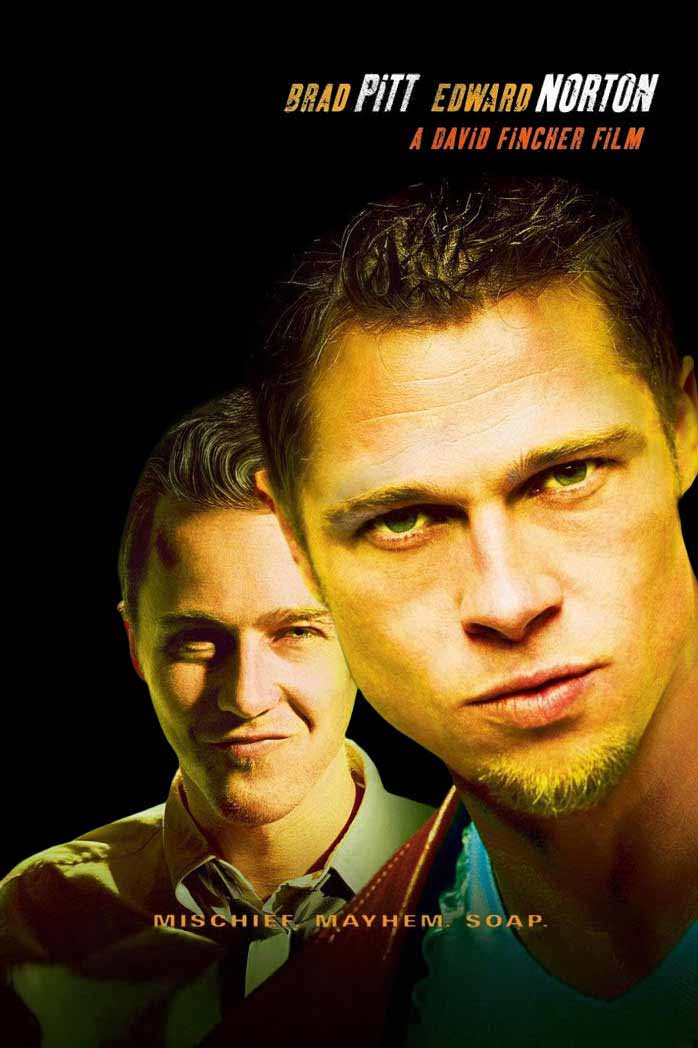
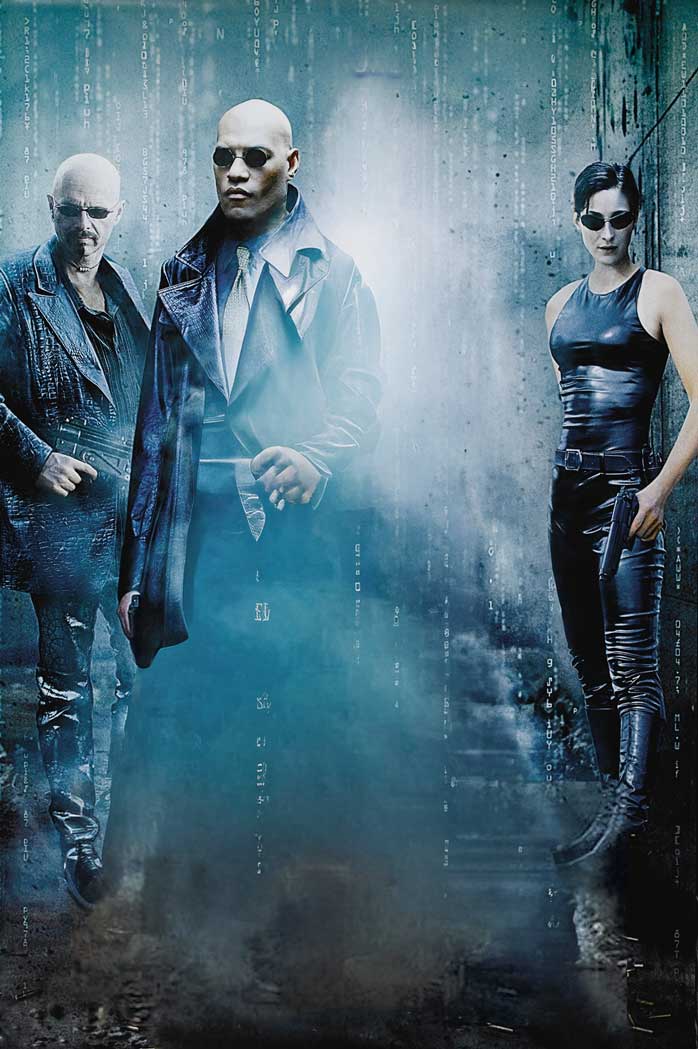
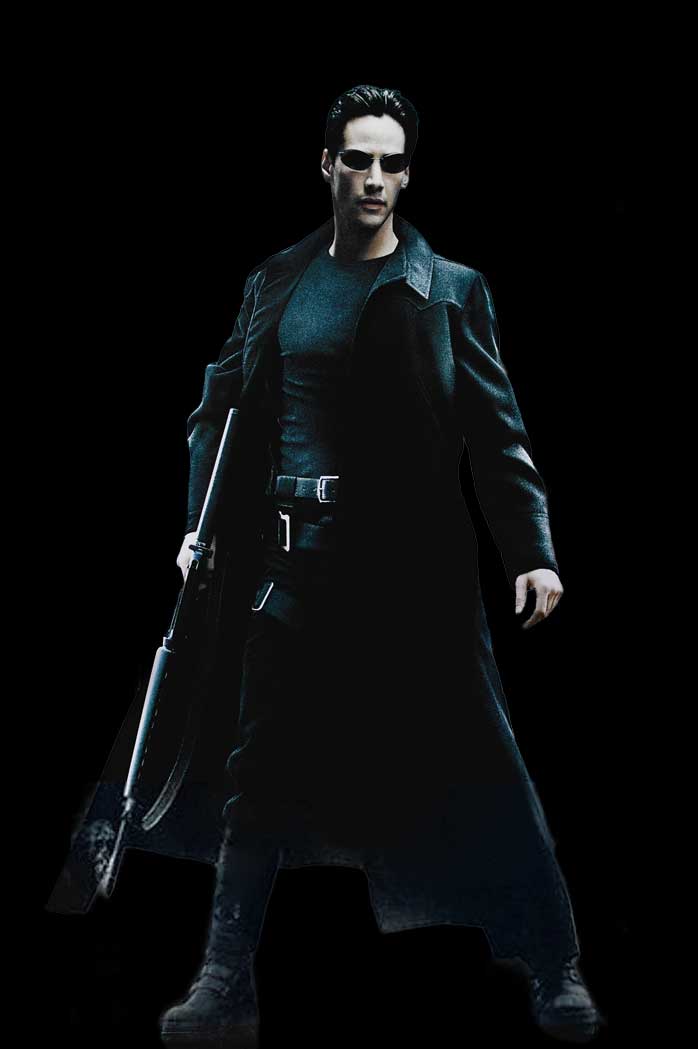
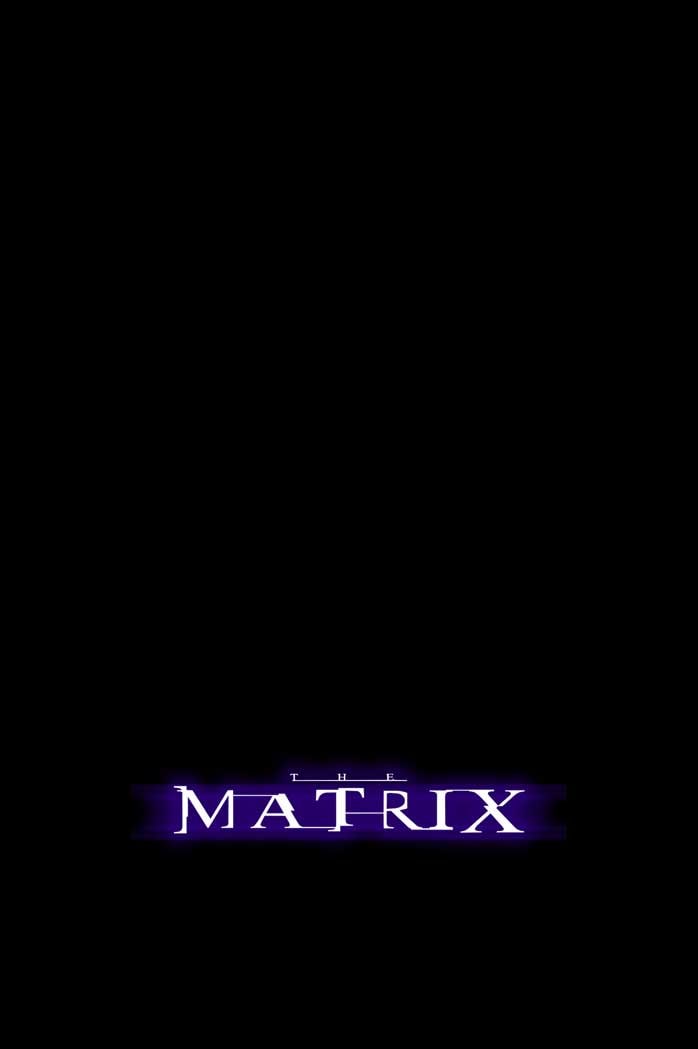
I am always fascinated when I see these subtle parallax effects on tvOS, it adds so much depth and never fails to make me smile. These are fairly easy components to re-create, it just takes a fair amount of tweaking the layers to get the parallax effect right. Not to mention you have to create layered images and masks, but it’s worth the effort. Hover the cards below and move your pointer around.

Hoz does the parallax tilting card effect work?
As I said, this is fairly simple: we listen to the pointer position and derive the tilting angle, the parallax layer shifts, and the position of the specular highlight from that. We listen to the pointer move event on the whole document, since we want the specular highlight to follow the pointer, no matter if it is hovering the tile / card or not.
useEffect(() => {
  const span = ref.current;
  if (span) {
    const handleGlobalPointerMove = (event: PointerEvent) => {
      const span = ref.current;
      if (span) {
        const maxAngle = 5;
        const { left, top, width, height } = span.getBoundingClientRect();
        const x = event.clientX - left;
        const y = event.clientY - top;
        const dX = (x / width - 0.5) * 2;
        const dY = (y / height - 0.5) * 2;
        const tiltX = Math.min(dX ** 2 * maxAngle, maxAngle) * Math.sign(dX);
        const tiltY = Math.min(dY ** 2 * maxAngle, maxAngle) * Math.sign(dY);
        span.style.setProperty(
          "--tilt-x",
          `${Math.round(tiltY * 100) / 100}deg`
        );
        span.style.setProperty(
          "--tilt-y",
          `${-Math.round(tiltX * 100) / 100}deg`
        );
        span.style.setProperty("--pointer-x", `${(x / width) * 100}%`);
        span.style.setProperty("--pointer-y", `${(y / height) * 100}%`);
        span.style.setProperty("--pointer-dx", `${dX}`);
        span.style.setProperty("--pointer-dy", `${dY}`);
      }
    };
    document.addEventListener("pointermove", handleGlobalPointerMove);
    return () => {
      document.removeEventListener("pointermove", handleGlobalPointerMove);
    };
  }
}, []);
From there on, it’s just a little bit of css magic to rotate the card, shift layers based on their depth, and position the specular highlight. Here’s the gist of it:
.titling_tile {
  // ...

  .specular {
    background-image: radial-gradient(
      circle at var(--pointer-x) var(--pointer-y),
      #fff,
      transparent var(--specular-size, 100%)
    );
    // ...
  }

  &:hover,
  &:active {
    animation: rotate-in 0.2s var(--ease-out-cubic) backwards;
    transform: rotateX(var(--tilt-x, 0)) rotateY(var(--tilt-y, 0));

    .layer {
      animation: translate-in 0.2s var(--ease-out-cubic) backwards;
      transform: translate(
        calc(var(--pointer-dx, 0) * var(--depth) * -0.5%),
        calc(var(--pointer-dy, 0) * var(--depth) * -0.5%)
      );
    }
  }
}
That’s a wrap
In the end, it’s a simple effect to achieve, tilting the cards and achieving the parallax effect is as easy as getting the pointer position and do a little bit of math, nothing too crazy. However simple technically speaking, the tilting card effect with parallax and specular highlight is incredibly satisfying. Apple really nailed it in tvOS, it’s a shame so little tiles are using the parallax effect, but I can understand since this needs crating layered assets manually. Stay tuned